When I think back on our wedding planning days, one of my absolute favorite little projects was creating our wax seals for our invitations. There’s just something so timeless and romantic about that soft shimmer of wax pressed beneath a beautiful stamp. It feels like a love letter from another era — a small, delicate detail that makes your guests feel like they’re opening something truly special.
And the best part? It’s surprisingly easy (and affordable!) to do yourself. My husband and I spent an afternoon making them together — music playing, coffee nearby, wax dripping across our table in the best kind of creative chaos. It became one of those unexpectedly cozy memories I’ll always treasure.
If you’re ready to add that elegant, old-world touch to your wedding suite, here’s exactly how we did it.
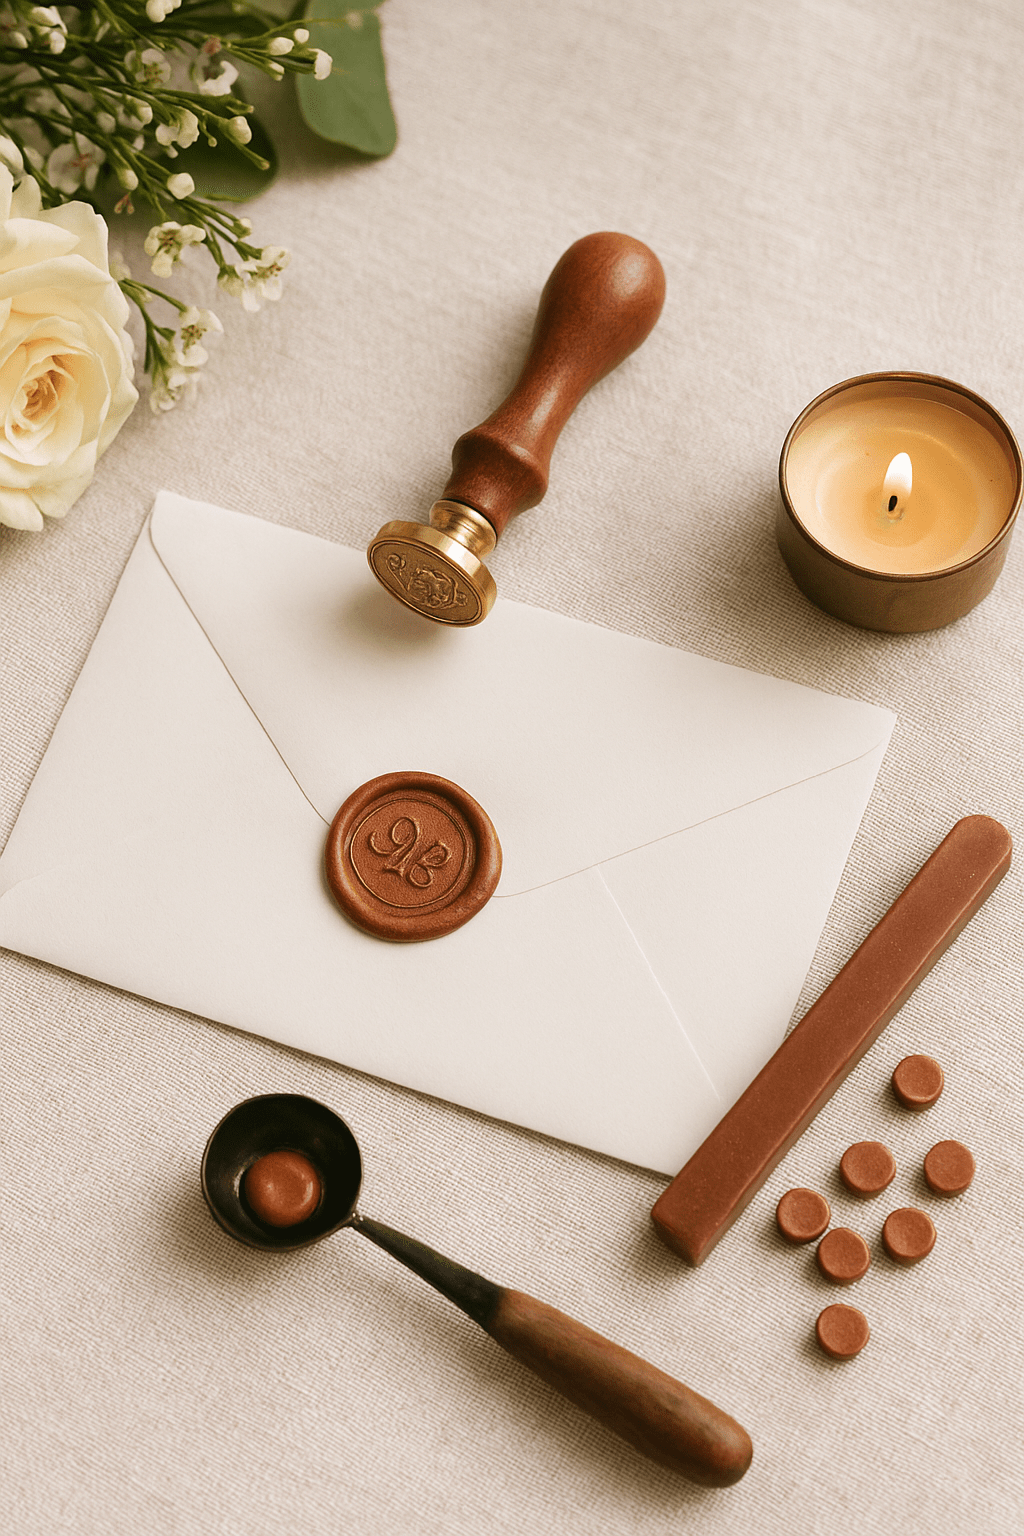
What You’ll Need
- A wax seal stamp (we used one with our initials — so romantic!)
- Sealing wax (available in glue stick form or as small beads)
- A wax melting spoon or wax seal glue gun
- A candle or heat source if you’re using a spoon
- Your invitations and envelopes, ready for sealing
How to Create Your Own Wax Seals
- Melt the Wax
If you’re using a glue gun, insert your wax stick and let it heat up until the wax flows smoothly. If you’re using a spoon, add a few wax beads and hold it over a candle flame until the wax melts into a liquid. (This part always felt a bit like potion-making to me — slow, calming, and kind of magical.) - Test the Texture
Before you go all-in, do a quick test on a scrap piece of paper. The wax should pour smoothly — not too runny, not too thick. When it’s just right, you’re ready to start sealing! - Pour and Press
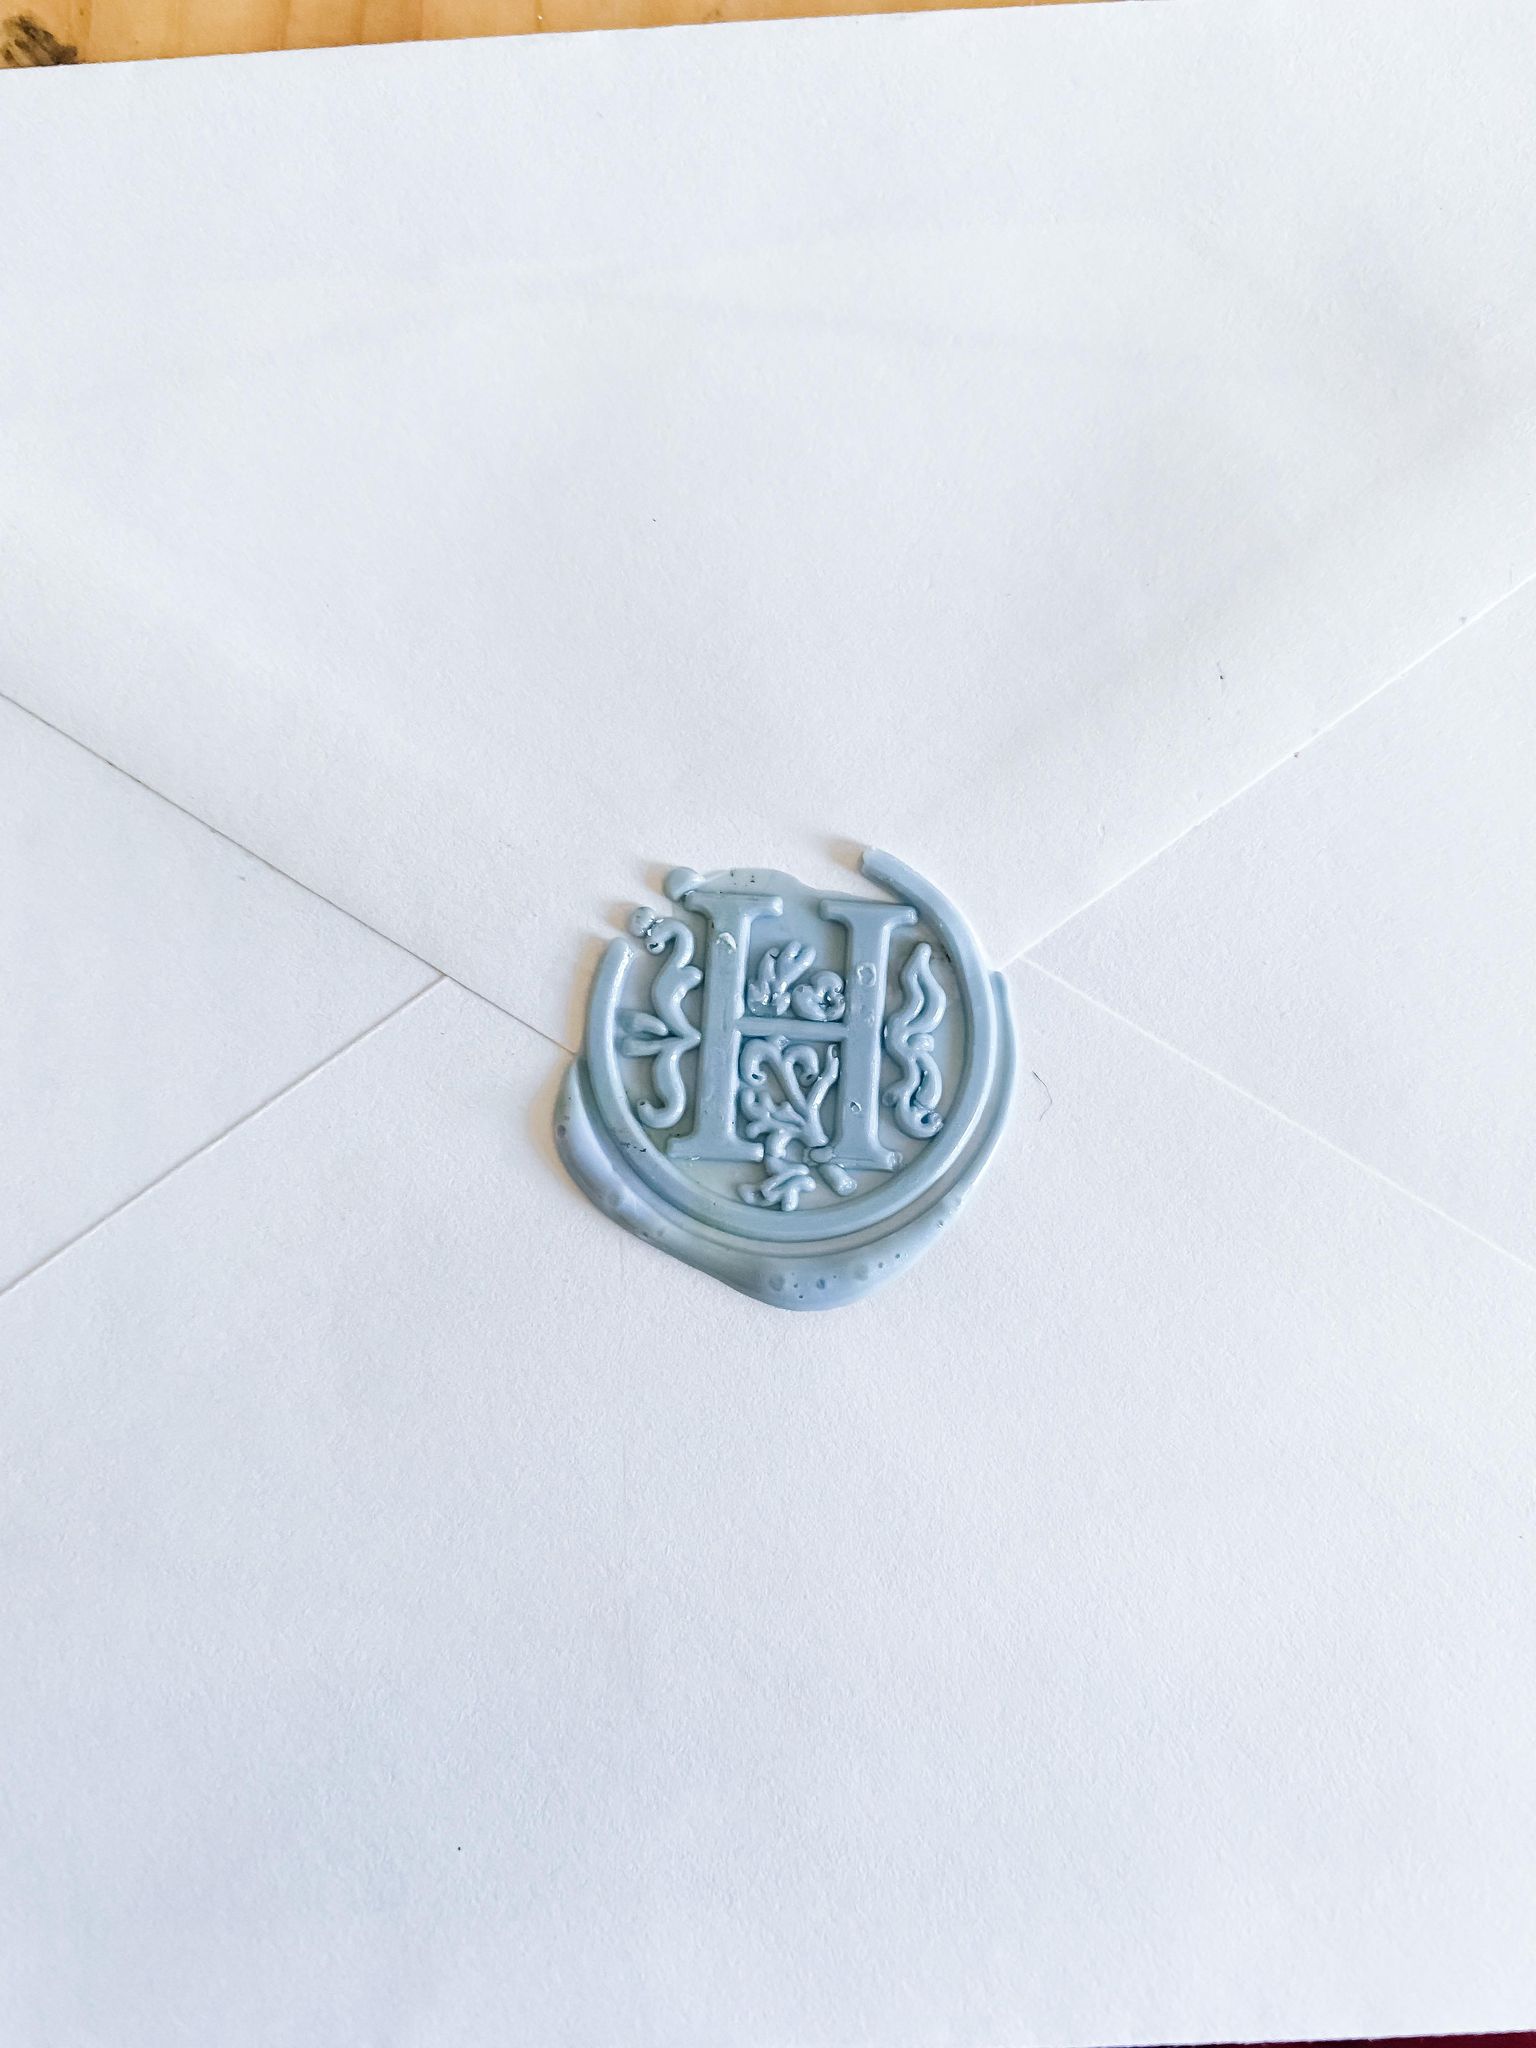
Carefully pour a small puddle of wax where you’d like the seal to go. Then, gently press your stamp into the center. Hold it in place for a few seconds — just long enough to let the wax cool and harden. - The Grand Reveal
Slowly lift your stamp… and there it is! Your first beautiful wax seal. (I may or may not have squealed with excitement the first time I saw ours.)
Once we got the hang of it, we set up a little assembly line — one of us melting and pouring, the other stamping and admiring our handiwork. It turned out to be such a fun way to slow down and add a touch of us to every envelope.
There’s something really special about these little seals — they don’t just close an envelope; they seal in your love, your excitement, and all those sweet moments leading up to your wedding day.
If you try this, I’d absolutely love to see how yours turn out! Share your photos or tag me — there’s nothing quite like seeing other couples add their own creative flair.
Happy sealing, friends 💌✨


Leave a comment